• Is Windows Recovery Environment Missing?

    Home » Forums » AskWoody support » Backup » Backup – other » Is Windows Recovery Environment Missing?

    Author
    Topic
    #2378966

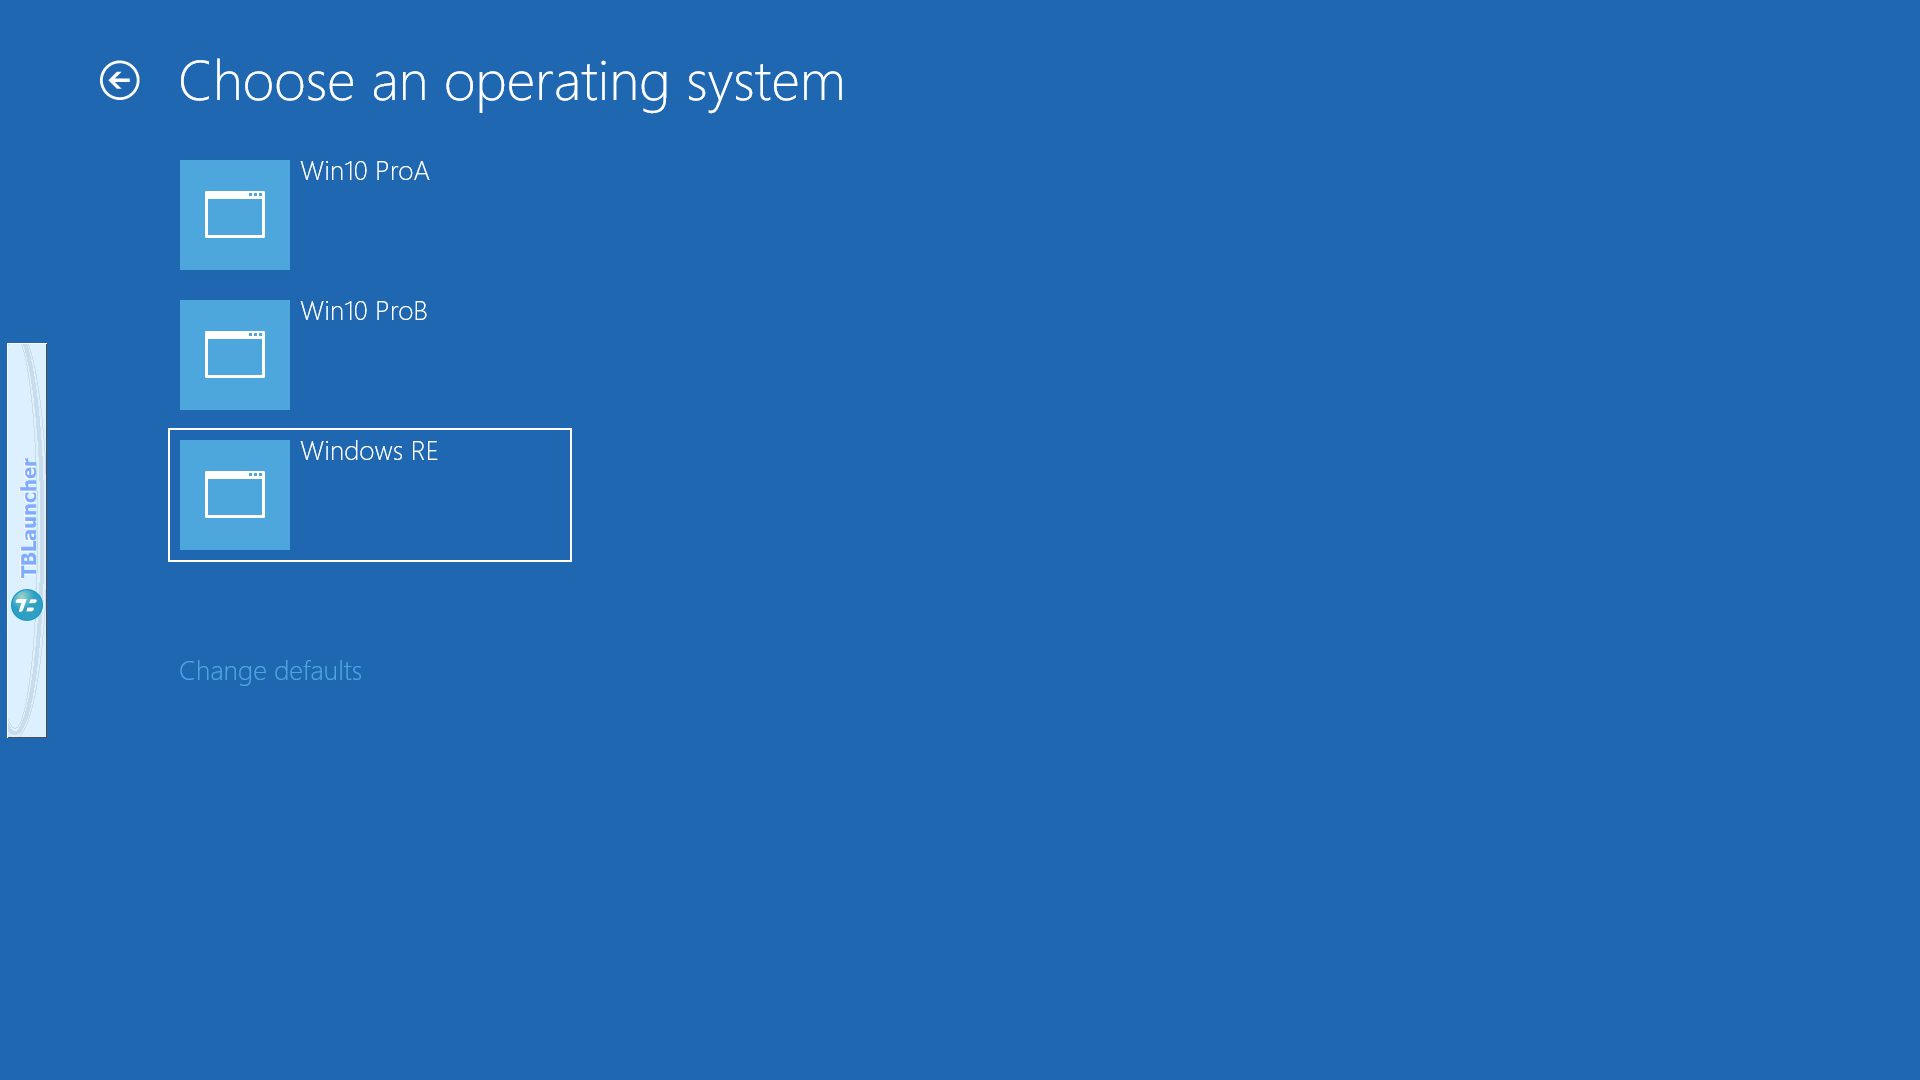
    One should be able to boot into Windows RE by going to All Settings > Update & Security > Recovery and click Restart.  Windows Recovery Environment (or Windows RE) should be one of the options under “Use another operating system”.  If that doesn’t work, there are any number of reasons for this, and you’re not alone. In addition, the Recovery Environment should match the upgraded version of Windows 10 on your machine. I’ve had the same issue, and it took a while, but I did get it resolved.

    After a couple of days of fruitless effort, I discovered that the following was frustrating my efforts at every turn to re-enable the Windows Recovery Environment, but for whatever reason, Windows does not offer any failure mode or error code. All I kept getting was the task “completed successfully”, even though it did not complete at all.

    Sometime in 2017, I think, Microsoft decided to move the default location of the MSR partition in Windows 10 installation. In the earliest iterations of implementing UEFI, Windows would partition the OS disk with a small EFI partition (formatted FAT32) followed by a bit larger System Reserved Partition (MSR), and then the Windows OS partition. But as the Windows Recovery Environment grew in size the smallish MSR partition became inadequate, so Microsoft moved it to immediately after the Windows OS partition and made it larger. Having it after the OS partition made it easier to enlarge the MSR partition if it became necessary; shrink the OS partition a bit, and add that space to the MSR partition.

    That’s what I ran into when I first tried to incorporate Image for Windows into the Windows Recovery Environment.

    Recovery tools partition
    The Windows Recovery Environment (Windows RE) tools image (winre.wim) should be in a separate partition than the Windows partition to support automatic failover and to support booting Windows BitLocker Drive Encryption-encrypted partitions.
    While this image can be included on the same partition as the system partition, we recommend that you place this partition in a separate partition, immediately after the Windows partition. This allows Windows to modify and recreate the partition later if future updates require a larger recovery image.
    This partition must have enough space for the Windows Recovery Environment tools image (winre.wim, typically between 250-300MB, depending on base language and customizations added), plus enough free space so that the partition can be captured by backup utilities:
    If the partition is less than 500 MB, it must have at least 50 MB of free space.
    If the partition is 500 MB or larger, it must have at least 320 MB of free space.
    If the partition is larger than 1 GB, we recommend that it should have at least 1 GB free.
    It must have at least 320 MB of free space.
    We recommend that it should have at least 1 GB free.”

    Those recommendations are for BIOS/MBR systems, and mine is UEFI/GPT. I had 450MB with 51MB free space. So I should be good, right? After going through all the following (and some more problems that I created for myself along the way) it still wouldn’t work. I used BootIt UEFI, did a little bit of shrinking, some sliding, and got my partition up to 550MB. Now it’s all good. I guess a GPT MSR partition larger than 500MB doesn’t actually need 320MB of free space. I’ve tried it a number of times and it just keeps working.

    Winre.wim is essential for the operation to succeed, and of course, you need the version that matches your Windows installation. The best place for it is in a 450MB Microsoft Reserved partition right behind the Windows partition, but mine was not there. It can be located in “C:\Recovery\WindowsRE” (which is a protected folder), but mine was not there, either. It can be in “C:\Windows\System32\Recovery” (also a protected folder), but mine wasn’t there, either. If you should find Winre.wim in any of those locations, be sure to check the file date; it may be from an earlier version of Windows 10, and you need the file version to match your installation of Windows 10.

    But all is not lost, it can be extracted from the installation media using Dism.exe. It’s located in “\Sources\Install.esd” (esd is a more compressed version of wim). There are lots of instructions on the internet for extracting Winre.wim from Install.wim, and plenty of instructions on the internet for converting install.esd to install.wim. You should already have installation media, either an ISO you can mount, a DVD you can open, or a USB thumb drive you can plug in.

    Then you need a place to put the various parts. I created a folder named WIM on the root of my G: drive. Then in File Explorer navigated to my installation thumb drive, then to \Sources and found install.esd, right-clicked and copied it, then pasted it into my G:\WIM folder.

    Next I opened an elevated Command Prompt, and navigated to G:\WIM. This eliminates having to type in long paths for the files; everything is in the folder your working from. I typed

    dism /get-wiminfo /wimfile:install.esd

    and hit Enter. My Install.esd folder had 7 versions of Windows 10, and the one I needed was Index:6, Windows 10 Pro. Next I typed

    dism /export-image /sourceimagefile:install.esd /sourceindex:6 /destinationimagefile:install.wim /compress:max /checkintegrity

    and hit Enter. This one takes a while. Now I had install.esd and install.wim in my G:\WIM folder. Next I needed to mount install.wim, but it has to be mounted into an empty directory, so I created a subfolder to my WIM folder and named it Mount. Next I typed

    dism /mount-image /imagefile:install.wim /index:1 /mountdir:g:\wim\mount

    and hit Enter. This one doesn’t take quite as long. And note that I used index:1 because I extracted only one install.wim from install.esd.

    The extracted install.wim looks like a bare installation of Windows with all the default folders and files. Winre.wim is located in “\Windows\System32\Recovery”. Once Winre.wim has been safely copied to somewhere you can remember (like the WIM folder), we can unmount the image file. In the elevated Command Prompt type

    dism /unmount-image /mountdir:g:\wim\mount /discard

    This one takes a little while, as well. When the unmount finishes, in that elevated Commmand Prompt launch diskpart (that is, type “diskpart” without the quotes and hit enter), and at the DISKPART prompt type

    list vol

    and hit Enter. Look for your MSR partition and note its volume number. You need to assign it a drive letter so it can be a target for xcopy. Type

    sel vol (your MSR volume #)

    and hit Enter. That volume will now have focus. Now type

    assign letter=z

    and hit Enter. Z is far enough down the alphabet that it shouldn’t interfere with any drive letters actually in use. (If you’re using Z, choose a different, unused letter). Once that is complete, exit DISKPART, but don’t exit the elevated Command Prompt. It helps (me, anyway) to label my partitions/logical drives. So I typed

    label Z:Recovery

    and hit Enter.

    We’ll be using reagentc.exe to set the path for the Recovery Environment, and it can’t set the path to the root of a drive, so we need to have a folder in drive Z: At the Command Prompt, type

    z:

    and hit Enter. Next use the Make Directory command to create a folder to be named WindowsRE. Type

    md WindowsRE

    and hit Enter. Now we’re ready to copy the Winre.wim file.

    Use xcopy to copy winre.wim (from wherever you saved it) to Z:\WindowsRE, using the /h /r switches. Once that’s accomplished, you need to let the system know that it’s there. In the elevated Command Prompt, type

    reagentc /setreimage /path z:\windowsre

    and hit Enter. Next type

    reagentc /enable

    and hit Enter. If that is not successful, type

    reagentc /info

    and hit Enter. This will give configuration data for windows RE. This site has some excellent information for troubleshooting.

    Once you have the Recovery Environment enabled, go back into DISKPART and remove the drive letter. Type

    list vol

    and hit Enter. Then type

    sel vol (your MSR volume #)

    and hit Enter. That volume will now have focus. Now type

    remove letter=z

    Now you can exit DISKPART, and the elevated Command Prompt.

    To see it if worked, go to All Settings > Update & Security > Recovery and click Restart. Windows RE should be one of the listed options.

    If you have issues, I’ll do my best to help you get it set up.

    Always create a fresh drive image before making system changes/Windows updates; you may need to start over!
    We all have our own reasons for doing the things that we do with our systems; we don't need anyone's approval, and we don't all have to do the same things.
    We were all once "Average Users".

    1 user thanked author for this post.
    Viewing 2 reply threads
    Author
    Replies
    • #2379041

      That’s what I ran into when I first tried to incorporate Image for Windows into the Windows Recovery Environment.

      Just curious, but wouldn’t doing it the other way ’round be easier?  I.E. Using the Image for Windows TBWinPE utility to create a bootable WIM image based on WinRE, the resulting product could then be included in the Windows Boot Configuration Data (BCD) store wherever you might want to locate it.  Just a thought from a very lazy multi-booter. 🙂

      • #2379056

        Just curious, but wouldn’t doing it the other way ’round be easier? I.E. Using the Image for Windows TBWinPE utility to create a bootable WIM image based on WinRE

        WinRE.wim is a bootable WIM image, and TBWinRE uses that very image to build the bootable USB.  The TBWinRE.cmd script looks for the enabled WinRE.wim in all the default locations.  If WinRE.wim is not in any of those default locations, the script reports that the file cannot be found, “Press any key to exit script…”

        Hence my topic, “Is Windows Recovery Environment Missing?”  The other option is a clean install, I don’t do clean installs, and some other folks don’t either.

        Always create a fresh drive image before making system changes/Windows updates; you may need to start over!
        We all have our own reasons for doing the things that we do with our systems; we don't need anyone's approval, and we don't all have to do the same things.
        We were all once "Average Users".

        • #2379069

          Well, yes, I’m aware that WinRE.wim is a bootable WIM image.  But are you aware that just extracting the WinRE.wim file that is included in the Windows installation ISO won’t give you the same end product as the WinRE.wim file that actually gets installed to a particular machine?  The Windows installation (or major update) process adds quite a lot to it, mostly hardware drivers for the machine on which it’s installed.

          • #2379079

            But are you aware that just extracting the WinRE.wim file that is included in the Windows installation ISO won’t give you the same end product as the WinRE.wim file that actually gets installed to a particular machine? The Windows installation (or major update) process adds quite a lot to it, mostly hardware drivers for the machine on which it’s installed.

            Did you read the post?  It certainly does not seem so.

            The REAgentC.exe does everything necessary to get the job done.  When it is finished, go to Settings > Windows Update > Recovery and click the “Restart now” button.  Click the option, “Use another operating system” and you will see Windows Recovery Environment (mine says Windows RE) as one of the other operating systems.

            If you will also follow the steps in “Incorporate Image for Windows into Windows Recovery Environment” you can use Image for Windows from within the Windows Recovery Environment to either create a drive/partition image, or to restore a drive/partition image.

            Always create a fresh drive image before making system changes/Windows updates; you may need to start over!
            We all have our own reasons for doing the things that we do with our systems; we don't need anyone's approval, and we don't all have to do the same things.
            We were all once "Average Users".

            • This reply was modified 3 years, 9 months ago by bbearren. Reason: correcting content & command used
    • #2379089

      Did you read the post? It certainly does not seem so. The TBWinRE.cmd script uses DISM.exe and everything else necessary to get the job done.

      The original post said nothing about using TBWinRE to get the job done and DISM is only mentioned in regard to mounting the Window install.wim file from which the extracted \Windows\System32\Recovery\Winre.wim file is simply copied.  If you don’t believe that doing that won’t produce the same result as the Windows installation/update process, I can only suggest comparing it yourself with a properly installed WinRE.wim image.  Just looking at the file sizes will make it evident that they aren’t the same, or use something like Beyond Compare for a more detailed internal comparison.

    • #2379111

      I’ve corrected my mistake in post #2379079.  REAgemtC.exe is the tool that preps the WinRE.wim for use in the Recovery Environment.

      “You can use the REAgentC.exe tool to configure a Windows Recovery Environment (Windows RE) boot image and a push-button reset recovery image, and to administer recovery options and customizations. You can run the REAgentC command on an offline Windows image or on a running Windows operating system.”

      WinRE

      WinRE1

      WinRE2

      Always create a fresh drive image before making system changes/Windows updates; you may need to start over!
      We all have our own reasons for doing the things that we do with our systems; we don't need anyone's approval, and we don't all have to do the same things.
      We were all once "Average Users".

      • #2379136

        Are you saying that REagentC mounts and modifies the WinRE.wim image that is extracted from the Windows install.wim in order to add the hardware drivers and other components required for the recovery environment of the machine to which it is installed?

        • #2379143

          Are you saying that REagentC mounts and modifies the WinRE.wim image that is extracted from the Windows install.wim in order to add the hardware drivers and other components required for the recovery environment of the machine to which it is installed?

          WinRE-info

          Follow the instructions found in the OP of this thread, and then the instructions found in “Incorporate Image for Windows into Windows Recovery Environment“, and you will get this

          WinRE-1

          and this

          WinRE1-1

          and this

          WinRE2-1

          Those are screenshots from my Windows RE taken a couple of hours ago.  The Windows RE has network drivers, so that I can use Image for Windows to reach across my network to my NAS and restore drive images.  The network drivers are installed by the TBWinRE.cmd script.

          Always create a fresh drive image before making system changes/Windows updates; you may need to start over!
          We all have our own reasons for doing the things that we do with our systems; we don't need anyone's approval, and we don't all have to do the same things.
          We were all once "Average Users".

          • #2379153

            But that doesn’t deal with my question about the addition of machine-specific hardware drivers into the WinRE.wim image itself.  Oh well.  Never mind.  I know what it does and doesn’t do in my own case and others will find out about it for themselves in due time, I guess.

            • #2379220

              But that doesn’t deal with my question about the addition of machine-specific hardware drivers into the WinRE.wim image itself.

              The Recovery Environment is very much like a Pre-installation Environment.

              Consider how one is able to install Windows on a bare metal DIY box.  The Windows Recovery Environment is similar, and also configurable.

              Check out “WinRE troubleshooting features“, as well as “REAgentC command-line options” if you’d like to get a better understanding of what goes on and how.

              Always create a fresh drive image before making system changes/Windows updates; you may need to start over!
              We all have our own reasons for doing the things that we do with our systems; we don't need anyone's approval, and we don't all have to do the same things.
              We were all once "Average Users".

    Viewing 2 reply threads
    Reply To: Is Windows Recovery Environment Missing?

    You can use BBCodes to format your content.
    Your account can't use all available BBCodes, they will be stripped before saving.

    Your information: