
If “Create an Image for Windows Rescue Drive” worked for you, then adding Image for Windows into your Windows Recovery Environment should work without a hitch. Go to the Drive Image folder in Program Files in a subfolder “tbwinre”,
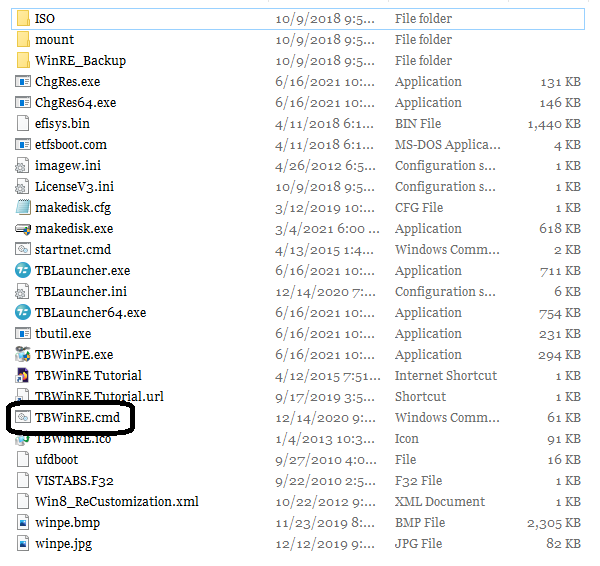
Right-click TBWinRE.cmd, select Run as administrator, and you will see this same Command window:
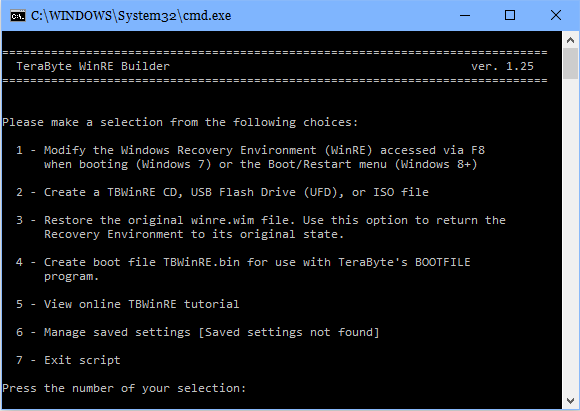
This time press “1” on your keyboard,
The script will begin, again finding “winre.wim” on your PC, save a pristine copy of that file, use the DISM tool to perform some machinations to that file, unmount the image files that it has mounted, and then ask you to “Press any key to exit script…” It’s that simple.
The reason that having Image for Windows in the Recovery Environment is that rather than booting the TBWinRE USB drive, you will boot into the Recovery Partition (usually right behind the Windows partition) and will no longer be booted into Windows.
That will allow restoring a Windows OS drive image just as if you had booted into the TBWinRE USB drive, because Windows is not running, and can be restored without issue.
After you have restored your Windows OS image, just select the option to continue booting into Windows. It’s very handy, easy to use, and takes less time to accomplish the same tasks.
If you had trouble getting “Create an Image for Windows Rescue Drive” to work (error messages, etc.), then go to “Is Windows Recovery Environment Missing?” in this forum for some additional steps to get it working. That one is a little more advanced, but help is available.


