
Hi all,
My updated mobo is a very new Asus H87-Pro. It has no provision for a floppy drive. I’m left with the choice of purchasing an outboard USB floppy drive (without knowing if it will work or not), or building a USB floppy.
All my attempts at building a USB floppy have failed. So far I’ve used the following utilities:
– BootDisk2BootStick
– Novicorp WinToFlash
– Bootable USB Drive Creator
– Rufus
– HP USB BOOT TOOL
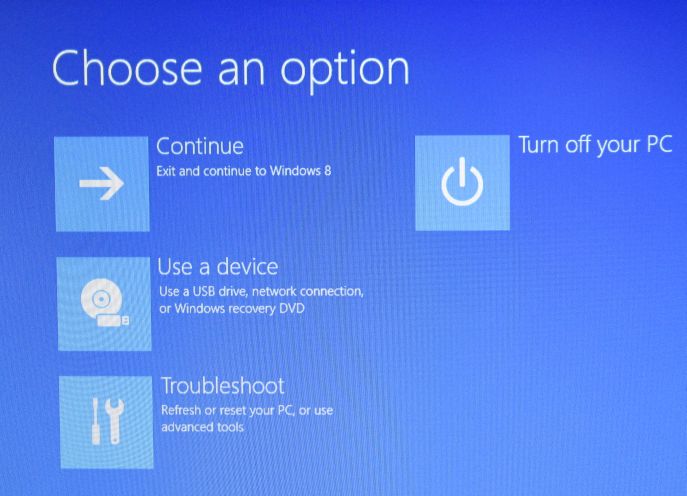
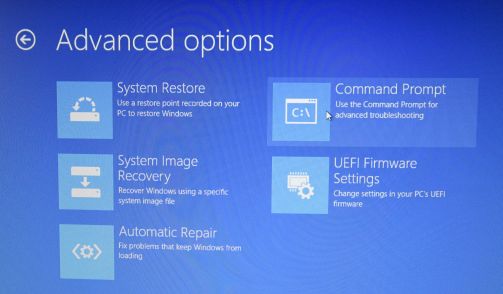
The H87-Pro has a new kind of BIOS called UEFI in which you can manually shuffle the device boot order, such as bringing the USB boot device to the head of the boot que. I’ve been through the rest of the BIOS over and over but I’ve not yet seen a positive result from the USB floppies I’ve spawned. My system always boots straight to Windows XP/SP3.
Can anyone throw any light on what I’m missing?
Thanks!
 I do appreciate your effort to help. Thank you.
