Putting to one side whether one *should* interrupt the Windows 10 installation process, this topic is about whether you *can*… and why on earth would you?
The simple answer is ‘customisability’ and ‘consistency’ for *all* users. Organisations interrupt the initial, default Windows installation process all the time in order to build reference images and to amend the eventual Windows experience/environment (using something called an answerfile)… however you want to describe it.
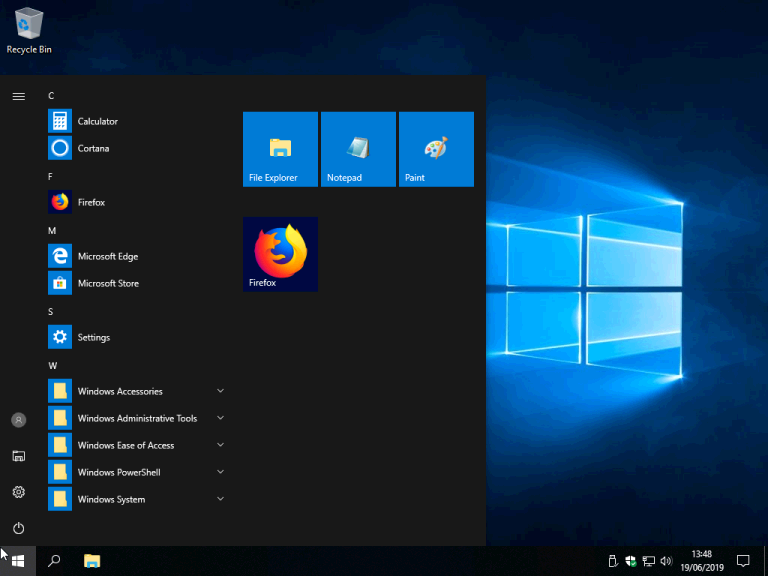
The benefits are a standard, consistent experience for *all* users of the Windows device. Even if you are the *only* user of a device, there are some advantages of amending the default account template before the first user account is created, e.g. by amending the Start menu so it’s clear of all pinned apps before the first connection to the Internet. Even outside of a business environment managed by membership of a ‘domain’ (rather than the home environment of a ‘workgroup’), it’s still possible for home users to enjoy some of the benefits of a pre-customised version of Windows.
Note: This topic applies primarily to *clean* installations, not in-place upgrades. (If you’re carrying out an in-place upgrade then this is less efective.)
Instead of a discourse on *whether to* (it’s your choice), here’s *how* to, using a clean install to upgrade from Windows 10 Home 1803 to Home 1809 as an example. I’m using a VM (virtual machine) so I can capture decent screenshots of the process but will use the term ‘PC’, just because it’s easier to understand.
It goes without saying that you should only do this after ensuring you have copies of your data stored safely away from the PC you are going to wipe clean and/or have made a disk image as a complete backup before doing anything else. I do both so if all goes well then I need only restore the data I need.
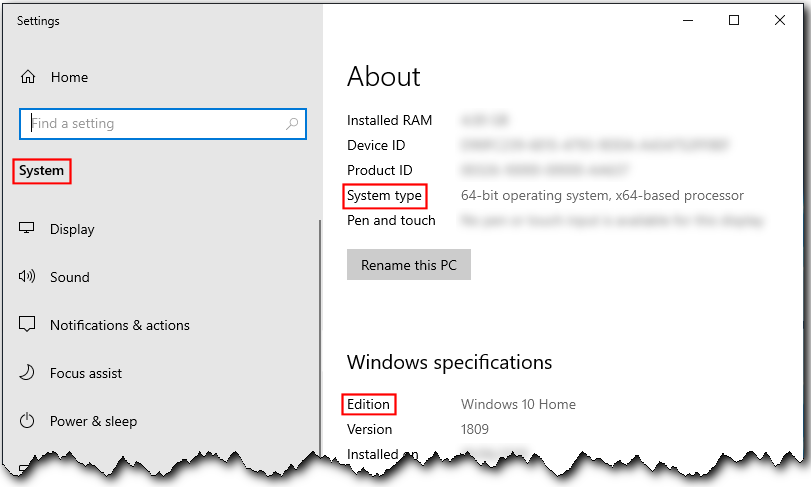
1. Before you do anything else, *right*-click on the Start button, select System and make a note of the System type and Edition… you’ll need this info.:
2. Turn off Win 10’s hybrid Fast Startup (it interferes with booting into the BIOS/UEFI) then shut down Windows. I use a script to disable Fast Startup but it’s just as easy to do via Power Options. (If you’re using a DVD as the Windows installer source then insert it *before* shutting the PC down and if you’re using a USB stick, insert it *before* powering on the PC again.)
3. Power on your PC, press the key for the Boot Device menu and select your Windows installer source to boot from – DVD or USB stick. The Boot Device menu key varies from manufacturer to manufacturer but is usually shown on the initial power-on screen. For example, Dell’s use F12 to get to the Boot Device menu.
4. I’m using the equivalent of a dual-layer DVD with both 64-bit and 32-bit installer versions as the Windows installer source so I first need to select the architecture (bitness):

Choose the same architecture as the OS edition you are upgrading from (unless you’ve added RAM and the processor is 64-bit capable, in which case you can upgrade from a 32-bit version of Windows to 64-bit using the same digital license as the previous Windows installation).
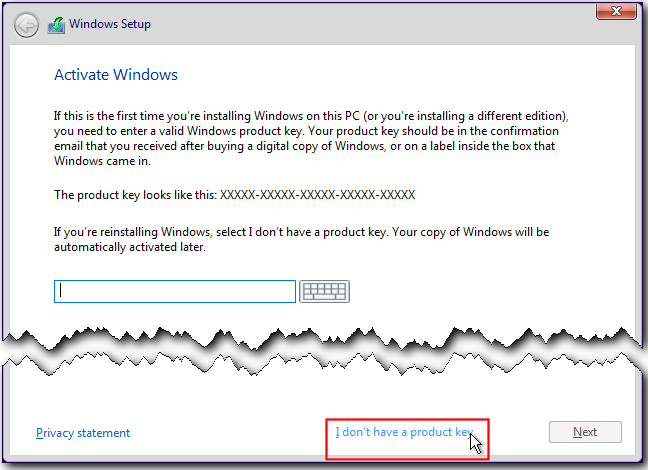
5. Windows Setup will begin so, after choosing your preferred language, time and currency format plus keyboard, you can begin the installation of Windows. After clicking on an Install now button the first thing you will be asked to do is enter information on an Activate Windows screen. You’re going to be reusing the PC’s previously-stored digital license so click on the I don’t have a product key link:
6. Next, choose the edition you want to install:
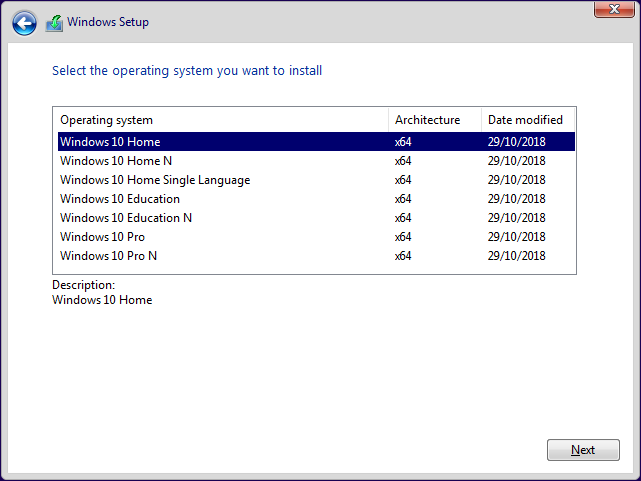
It’s tempting to think you can install a Pro edition instead of your PC’s previous Home edition… but it won’t activate automatically – so make sure you choose the same edition as the previous installation.
<continued in another post due to file size restriction>